Handmade soaps are a luxurious treat, but they are also an investment. When it comes to handmade soap, one of the most important things to keep in mind is how to make it last longer. Natural soap bars tend to be more expensive than store-bought, commercially mass-produced soap, so it's important to make sure you're getting the most out of each bar of soap.
How to make handmade soap bars last longer
There are a few simple tricks you can use to help your handmade soap bars last longer. Read on for five ways to make your artisan soap bars last longer! You want to make sure you're getting the most out of your bar of soap, so make sure to follow these five tips to help it last longer.

1. Use a soap dish that allows the soap to drain properly
Having natural soap is a great way to keep your skin healthy and glowing. To make sure your soap stays in its best condition, it's essential to include a soap dish that allows the soap to drain properly. There are several styles of draining soap dishes that help your natural handmade soap last longer.

What type of ceramic soap dish is best for handcrafted soaps?
A ceramic soap dish with holes is good for keeping natural handmade soap dry in between uses because the air can circulate around the bar of soap, preventing it from getting wet and soggy. This is a great way to keep your natural soap bars fresh and lasting longer.

How to choose a wooden soap dish that will help your soap last
When you are choosing a wooden soap dish that will help your artisan soaps last, you want to look for a key feature. It must allow air to circulate around the soap bar to prevent the soap from getting mushy!

What are some of the different styles of wooden draining soap dishes?
A few different styles of wooden draining soap dishes are popular. There are ones with small holes, some with wide slats, ones with ridges and others with narrow rungs or slats like ladders.
Draining dishes with small holes to help soap dry out after use
Some wooden soap dishes are designed with small holes so excess water can easily run off, helping the homemade soap bar last longer.

The holes should on the top of the dish and be large enough for water to drain from the soap but not so large that small soap bars might fall through the holes.
Hand carved wooden soap dishes with ridges to help air circulate around soap bars
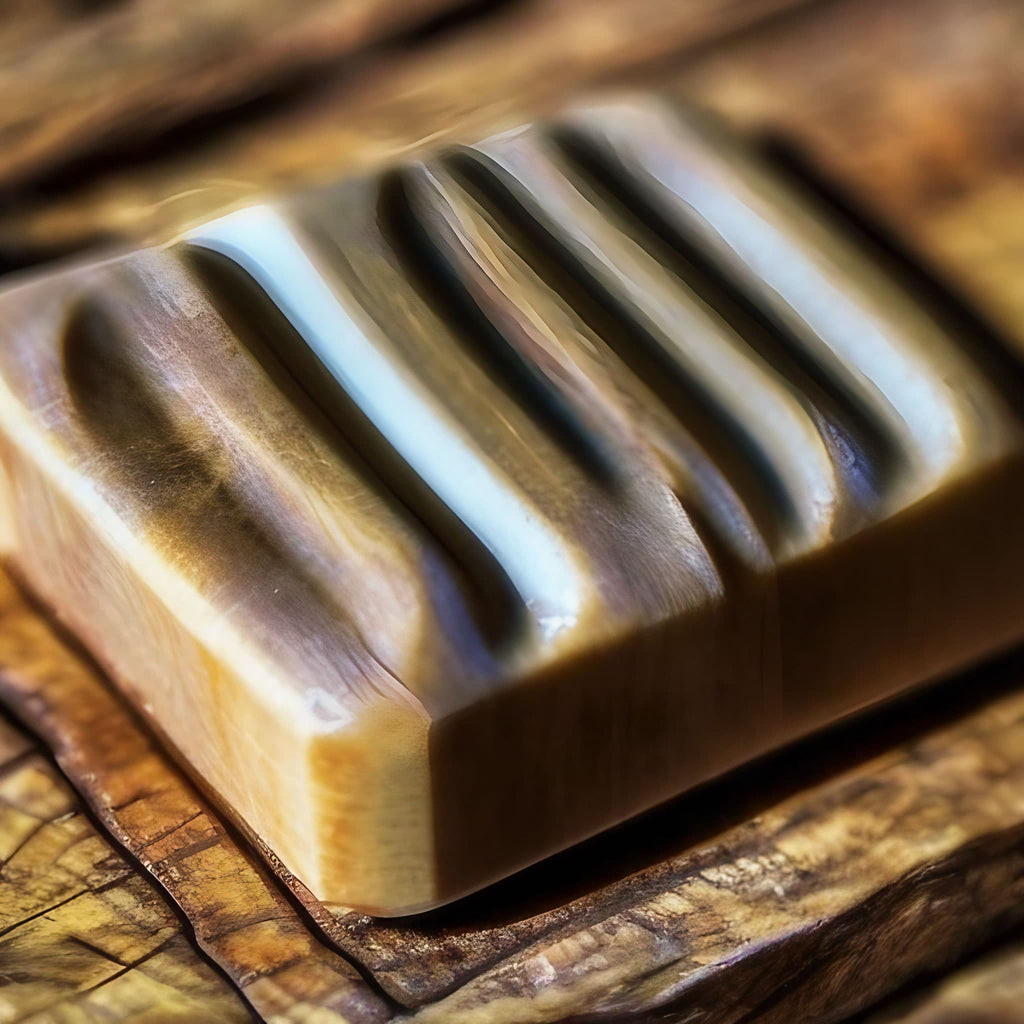
Hand carved wooden soap dishes with deep ridges are perfect for helping air circulate on the bottom surface of natural soaps so that they dry out easier. This will help the soap bars last longer, because they will have a chance to dry between each use.
Wooden soap dishes that have rungs or slats that look like a ladder
A ladder-style soap dish is another type of draining soap dishes made from wood. This type of dish for soap bars has a series of slats in the bottom that look like little rungs on a ladder. This allows water to drain from the soap, preventing it from sitting in a puddle of water and becoming soft.
Many people find that ladder-style soap dishes also help to extend the life of their handmade artisan soaps, as the soap bar does not become as mushy when exposed to moisture. In addition, ladder-style soap dishes can be placed in a variety of locations like near the sink. This makes them a versatile option for any bathroom.

2. Store handcrafted soap in a dry place and avoid the soap bar having contact with water until you are using it for bathing, showering, or washing your hands.
Handcrafted soap is a natural product that is made without some of the harsh chemicals found in some manufacturers' commercial, mass-produced soaps. As part of the saponification process, a by-product is retained natural glycerin. It's what makes the natural soap bars feel so moisturizing. Homemade soap must be stored in a dry place and kept away from water to prolong its shelf life.
How to store bar soap in shower
A stainless steel triangular shower shelf can be a great way to store soap. The soap will be easy to access, and it will be less likely to fall off the shelf.
If your shelf in the shower stays dry then it is a suitable place to keep your natural soaps. It should still be on a draining soap dish.
A shelf inside your shower where water constantly is hitting the shelf is not the place to store your handmade bar soap. Water constantly landing on the soap while it's in the shower may make your soap last for a shorter amount of time.

When home made soap is exposed to water, the outer surface of the soap bar will begin to soften and dissolve. That's fine if you are using it to create lather with the soap to bathe with but not so good if you are not using your soap and want it to last for as long as possible. For this reason, it is important to keep handcrafted soap in a dry place where it will not come into contact with water. This will help to ensure that your handcrafted soap lasts as long as possible.
3. Cut handmade soap into small pieces before using, which will help it last longer
Handmade soap can last a long time if it is stored and used properly. One way to make handmade natural soap last longer is to cut it into small pieces before using it. This will help the soap last longer because the entire bar of soap is not getting exposed to water as you use the soap.
How to cut soap into smaller pieces
• Begin by gathering the materials that you will need for cutting your soap into smaller pieces, You may wish to use a cutting board and you need a sharp knife.

• Next, place your soap bar onto the cutting board or other flat surface and carefully slice it in half using your knife. Be sure to cut the soap evenly so that each piece is roughly the same size and shape. You may cut each of these pieces in half if you wish to have even smaller pieces. If you started with a full-size 4 oz or larger bar of soap, this will give you four 1 oz or greater sized pieces.

• Once your soap is sliced into smaller pieces, place them in a cool and dry location, such as in a cabinet or on a shelf. You can also wrap each piece individually in wax paper to further protect it from moisture and extend its life, but punch a small hole in the wax paper before you put the soap in it so that your bar of handmade soap will continue to breathe. This is what you should do for a handmade hot process (rustic style) or cold process (smooth style) soap. If your soap is glycerin soap, you can wrap the pieces in plastic wrap.

• Finally, use your new smaller pieces of soap whenever you need to wash your hands, face, or body. By following these simple steps for cutting a soap bar into smaller pieces, you can help it last longer and get more use out of every bar that you buy.

Buy hand cut mini natural soap bars if you don't want to cut your own soap
If you don't feel like cutting the soap yourself into smaller pieces like the 1 oz bars that you cut from a 4 oz bar of homemade soap, you can still get mini soap bars that are already cut for you by getting yourself a few 1 oz soap samples.

4. How to keep your bar soap from getting soggy while showering or bathing
There are a few ways to keep your soaps from getting soggy. You can avoid letting it be directly in a stream of water as you shower.
While you are showering, you can stand under the water to wet your body and quickly wet the bar of soap. Then remove your soap bar and your body away from the stream of water. Rub the soap bar over your wet skin to generate lather and cleanse your skin with the lather.
You may need to quickly run the shower to apply more water to help with creating the lather if either your skin or the bar of soap becomes dry before you finish soaping up. But then you keep the water off while you shower.
Not only does this method make your soap last longer, but you also get the added benefit of helping to save water during times of drought like many places are facing now. When you finish this blog post, circle back and read our blog post about the best ways to use handmade soap when there is a drought.

If you use a washcloth, luffa, or bath pouf, wet it and then rub the soap bar over the surface of the washcloth or other bath accessory to create lots of bubbly lather and then use the washcloth, luffa, or bath pouf to cleanse your skin. Don't forget to put your soap on your draining soap dish during the shower when you are not using it.

If you are taking a nice relaxing bath, do not let your soap sit in the water while you are in the bathtub. Handmade soap is not like that old-school white bar of soap that the company that made it used to brag that it could float. You know the one! Its name started with the letter "I." That soap had lots of air whipped into it, which was the secret of its ability to just sit there floating.
Being able to float does not in any way make the soap a better soap, so try not to use being able to float as a metric for how good the soap is. If you let artisan handmade soap just sit in your bathwater, it will soon get mushy and its useful life will decrease.
5. Let your handmade bar of artisan soap dry completely before putting it away
Handmade artisan soap is a luxurious product that can last a long time if you care for it properly. One important tip is to let the soap dry completely before putting it away. This will help to prevent it from becoming mushy. The best place to let it dry out completely is on the type of soap dish that we discussed above, which is a self-draining soap dish.

If you're in a hurry, you can set the soap on a wire rack or towel to air dry. Once it's completely dry, store it in a cool, dry place out of direct sunlight. With proper care, your handmade soap will give you many pleasurable showers and baths to come!
Conclusion
If you’re looking for ways to make your soap last longer, follow these tips. Use a soap dish that allows the soap to drain properly, store it in a dry place and avoid contact with water, cut the soap into small pieces before using it, keep it out of the stream of water in the shower or away from sitting in your bath water, and let the bar of soap dry completely before putting it away. With a little bit of effort, you can make your soaps last longer. Check out our selection of artisanal soaps with free domestic shipping today!